How to open .czi, .nd2, .lif and other microscope files in ImageJ (Bio-Formats)
Open Zeiss .czi, Nikon .nd2 and Leica .lif files in ImageJ with Bio-Formats (built into Fiji), keep the pixel size, and fix "Unsupported format".
Contents
To open a .czi (Zeiss), .nd2 (Nikon), .lif (Leica) or other microscope file in ImageJ, use Bio-Formats: in Fiji it is built in, so drag the file onto the Fiji window or choose File › Import › Bio-Formats, set View stack with: Hyperstack and click OK. Channels, slices, time points and the pixel size come in from the file's metadata. Plain ImageJ 1.x needs Bio-Formats added first (one .jar in the plugins folder); without it, it stops with "Unsupported format or file not found".
To pass the image on with its scale intact, save it as TIFF or OME-TIFF, never as JPEG or PNG.
What Bio-Formats is
Bio-Formats is an open-source library from the Open Microscopy Environment (OME) that reads well over a hundred life-science file formats and turns their metadata into one common model, OME (Linkert et al. 2010). In ImageJ it appears as a set of plugins: the Bio-Formats Importer, the Bio-Formats Exporter, a windowless importer that reuses your last settings, and a few helpers.
| File | Made by | Opens in Fiji | Opens in plain ImageJ 1.x |
|---|---|---|---|
| .czi | Zeiss ZEN | Yes (Bio-Formats) | Only after installing Bio-Formats |
| .nd2 | Nikon NIS-Elements | Yes (Bio-Formats) | Only after installing Bio-Formats |
| .lif, .lof | Leica LAS X | Yes (Bio-Formats) | Only after installing Bio-Formats |
| .oib, .oir, .vsi | Olympus / Evident | Yes (Bio-Formats) | Only after installing Bio-Formats |
| .lsm | Zeiss (older confocals) | Yes | Only after installing Bio-Formats |
| .ims | Bitplane Imaris | Yes (Bio-Formats) | Only after installing Bio-Formats |
| .tif, OME-TIFF | Any | Yes | Yes (OME metadata needs Bio-Formats) |
How to open .czi, .nd2 and .lif files in Fiji
- Open the file. Drag it onto the Fiji main window, or use File › Open…: Fiji hands files it cannot read itself to Bio-Formats. To see every option, use File › Import › Bio-Formats instead.
- Fill in the Bio-Formats Import Options (the settings below). Fiji remembers them for next time.
- Choose the series, if asked. A .lif project, a multi-position .nd2 or a .czi with several scenes holds many images; a second dialog lists them so you can tick the ones to open.
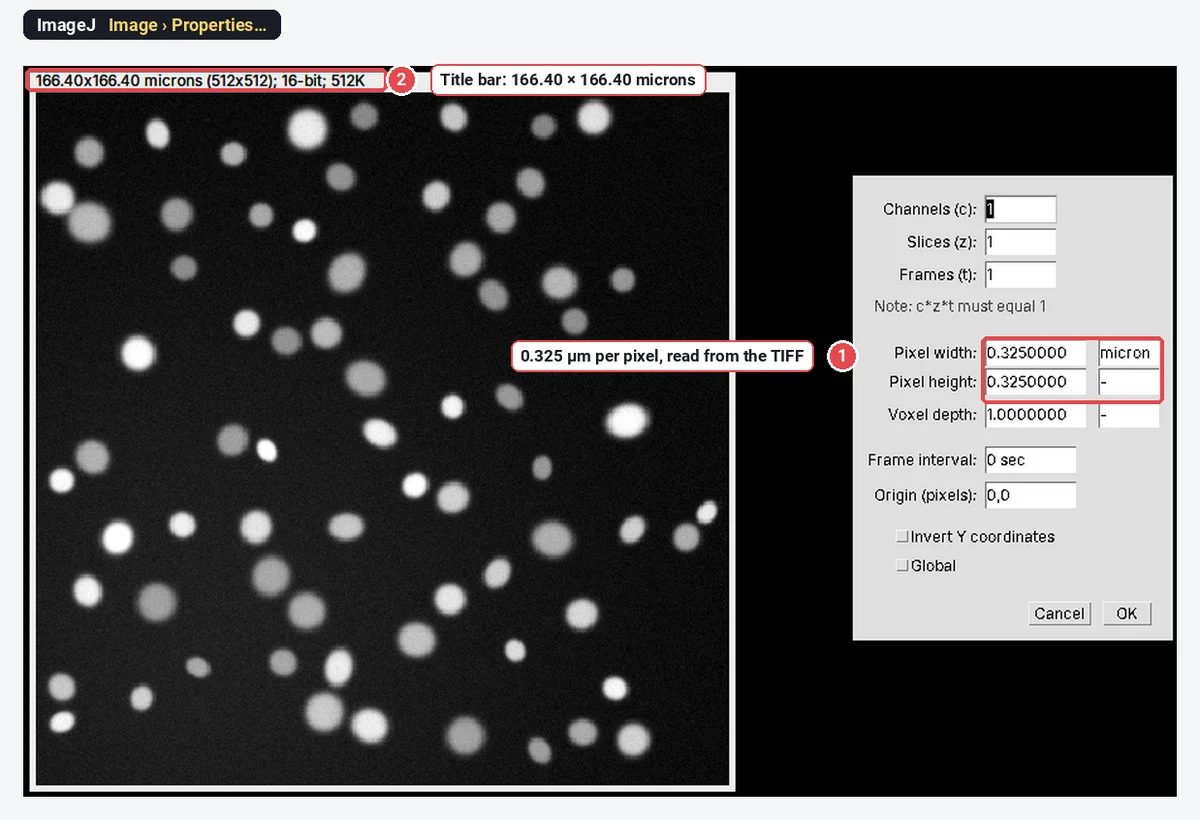
- Check the scale with Image › Properties…: pixel width and height in µm, and the right numbers of channels (c), slices (z) and frames (t).
The Bio-Formats Import Options that matter
| Option | What it does | Usual choice |
|---|---|---|
| View stack with | The viewer: Hyperstack (default), Standard ImageJ (old macros only), Data Browser, Image5D, View5D, or Metadata only | Hyperstack |
| Stack order | The order of the planes, XYCZT by default | Leave as is |
| Color mode | Default (as stored), Composite (channels merged), Colorized, Grayscale, Custom | Composite for a merge, Grayscale to measure |
| Autoscale | Sets the display range from the data | On; it changes only the display, not the pixel values |
| Split channels / Split focal planes / Split timepoints | Each channel, plane or time point as its own window | Off, unless you want separate images |
| Open all series | Opens every image in the file without asking | Off for a big .lif; pick series instead |
| Concatenate series when compatible | Joins series of the same size into one stack | For tiles or positions you want together |
| Use virtual stack | Reads planes from disk as you view them | On for files larger than your memory |
| Specify range for each series | Opens only some channels, slices or frames | For huge time-lapses |
| Crop on import | Opens only a region | For large tiled scans |
| Display metadata / Display OME-XML metadata | Shows the acquisition settings in a table | When you need the objective, exposure or laser lines |
| Group files with similar names | Opens a numbered series of files as one dataset | For one-file-per-plane exports |
The same importer can run from a macro; the Macro Recorder (Plugins › Macros › Record…) writes the exact line for your settings, for example run("Bio-Formats Importer", "open=/path/to/file.czi autoscale color_mode=Default view=Hyperstack stack_order=XYCZT");.
How to install Bio-Formats in plain ImageJ 1.x
Fiji users can skip this: Bio-Formats is already there and the Fiji Updater (Help › Update…) keeps it current. For plain ImageJ 1.x:
- Download bioformats_package.jar from the Bio-Formats download page on the OME website (openmicroscopy.org).
- Put it in the plugins folder inside your ImageJ folder (on a Mac, ImageJ.app's plugins folder; File › Show Folder › Plugins opens it).
- Restart ImageJ. A Plugins › Bio-Formats submenu appears, with Bio-Formats Importer and Bio-Formats Exporter, and File › Open now passes unknown formats to Bio-Formats.
The Bio-Formats documentation warns about one common mistake: two copies of bioformats_package.jar in the plugins folder. Delete the old one before you add a new one.
"Unsupported format or file not found": what it means
Plain ImageJ 1.x reads TIFF, JPEG, PNG, GIF, BMP, DICOM, FITS, PGM, AVI and a few more on its own. Give it anything else without Bio-Formats and it stops with an error. The wording depends on how the file was opened; the two messages in ImageJ 1.54f are "Unsupported format or file not found" and "Format not supported or reader plugin not found".
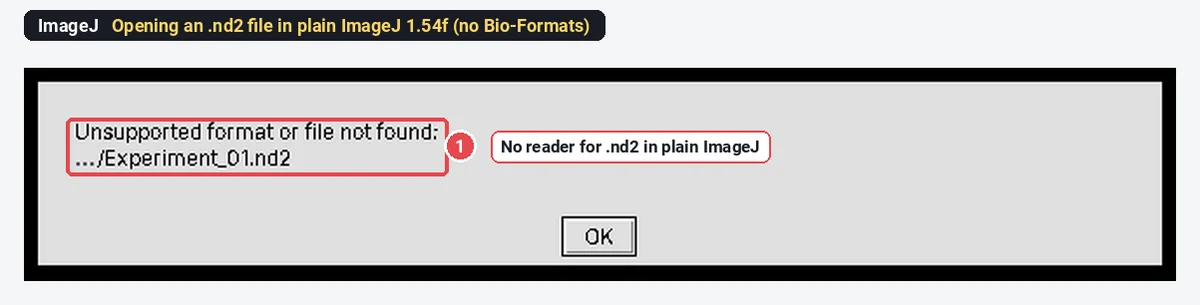
Work through it in this order:
- Is the path right? The same message appears when the file does not exist (a network drive that dropped, a file still syncing from the cloud).
- Is Bio-Formats installed? In plain ImageJ, look for Plugins › Bio-Formats. If it is missing, install it as above, or use Fiji.
- Is it up to date? New acquisition software versions sometimes write files an old Bio-Formats cannot read. In Fiji, run Help › Update…; in plain ImageJ, replace the jar.
- Still failing? Export the image as OME-TIFF from the acquisition software and open that.
How to keep the scale: check it, then save as TIFF or OME-TIFF
A microscope file carries its pixel size, and most measurements depend on it. Check it once the image is open.
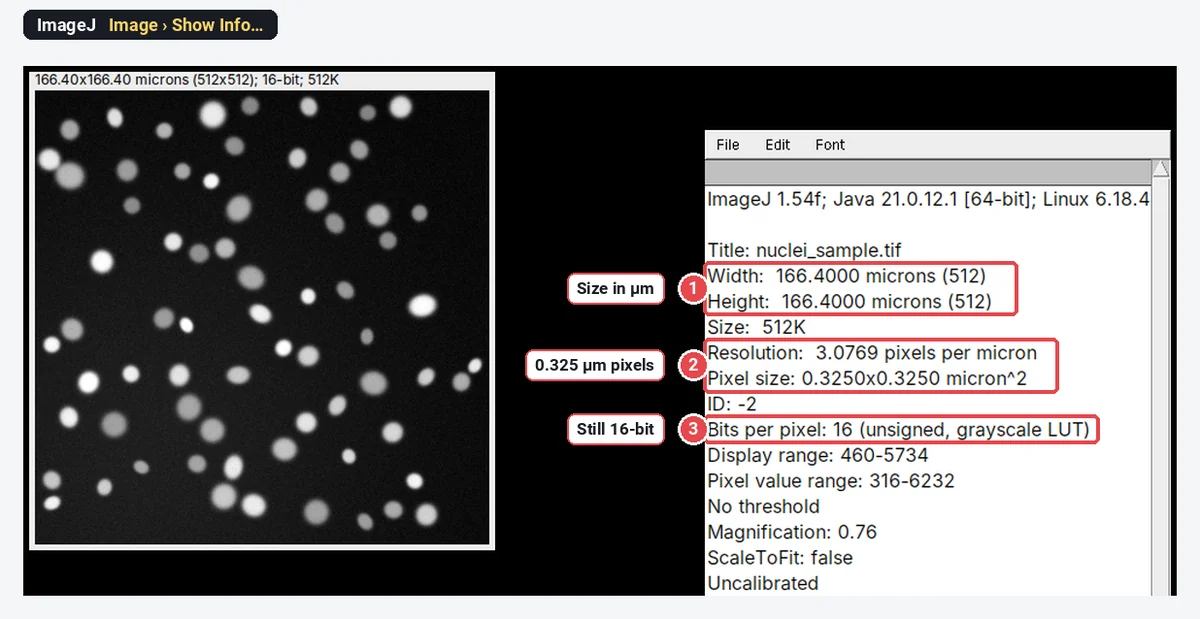
Image › Properties… shows the pixel width and height with their unit, and the numbers of channels, slices and frames. Image › Show Info… lists the same and more: the size in µm, the resolution, the bit depth and the range of values.
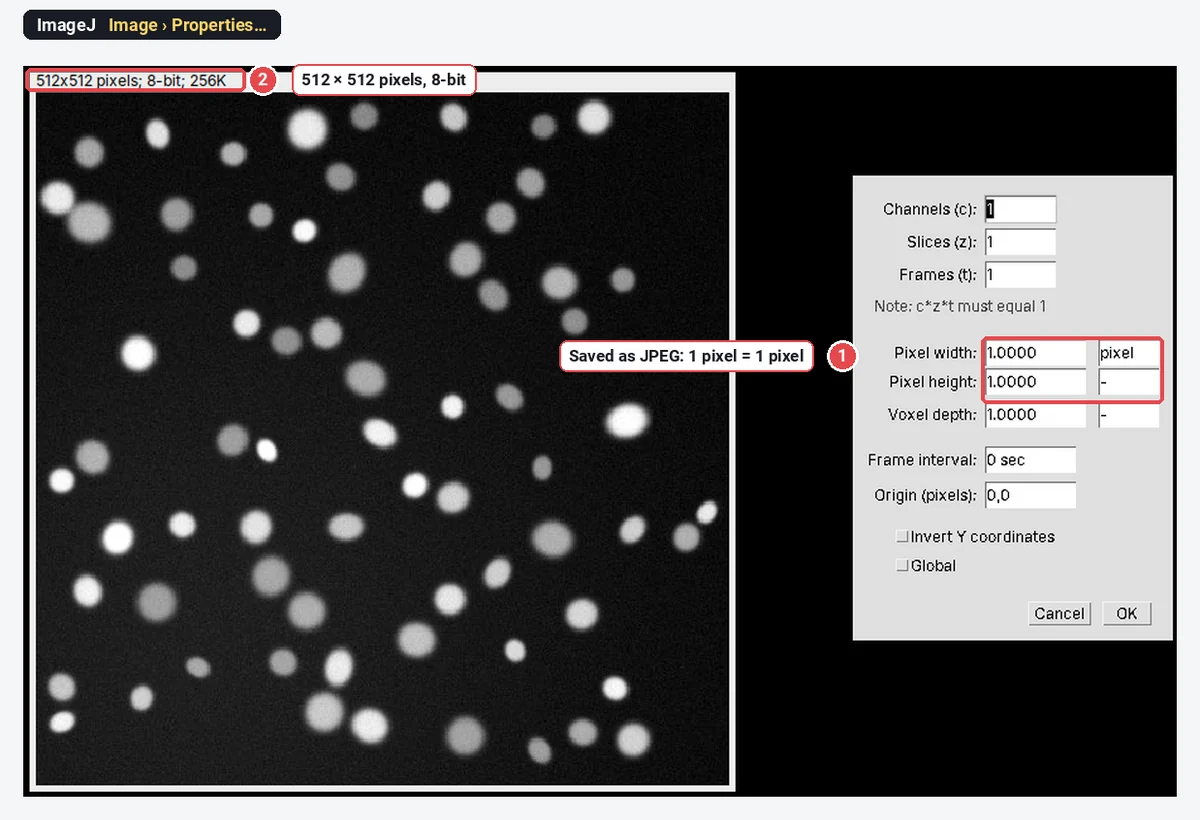
Now the same image saved as JPEG and opened again. The pixels look the same, but the scale and the bit depth are gone:
So, to pass an image from a .czi or .nd2 to a colleague, a figure or another program:
- File › Save As › Tiff… in ImageJ or Fiji writes an ImageJ TIFF: raw values, the hyperstack layout, the pixel size, slice spacing and frame interval in the file's description. ImageJ and Fiji read it back unchanged.
- OME-TIFF is the open standard that other programs read too (OMERO, napari, QuPath, CellProfiler, Python). In Fiji, use Plugins › Bio-Formats › Bio-Formats Exporter and give the file a name ending in .ome.tif. Bio-Formats also has a command-line converter, bfconvert, for whole folders.
- Not JPEG or PNG for anything you will measure: they hold 8-bit pictures without a calibration.
Pitfalls
- The scale did not come through. If Image › Properties shows 1 pixel = 1 pixel after import, the file had no calibration or the reader could not find it. Set it from the objective and camera (the pixel size calculator does the sums) or from a stage micrometer; see how to set the scale in ImageJ.
- Slices and frames swapped. A time-lapse that opens as a Z-stack makes every per-frame tool wrong. Fix it in Image › Properties by swapping the numbers of slices and frames, or with Image › Hyperstacks › Stack to Hyperstack… for a plain stack.
- Autoscale is not data. Autoscale and Color mode change the display only. Measure on the raw values, and never measure on a copy flattened to RGB.
- The wrong series. A .lif or a slide scan can hold dozens of series, including thumbnails, labels or overview images at lower resolution. Check the size and pixel size of the series you opened.
- Running out of memory. A big file can be larger than ImageJ's memory limit. Tick Use virtual stack, open a range of planes, or raise the limit in Edit › Options › Memory & Threads….
- A screenshot is not an image. Copying from the vendor viewer or exporting "as displayed" gives an 8-bit RGB picture with contrast already applied. Export the raw data.
Reporting it
A methods sentence to copy, with the parts in brackets filled in:
Images were acquired as [.czi] files and opened in [Fiji (ImageJ 1.54f)] with the Bio-Formats importer [version], which read the pixel size ([0.325] µm) from the file metadata. Images were analysed on the raw [16-bit] data and exported as OME-TIFF for [figure preparation / analysis].
Cite Bio-Formats (Linkert et al. 2010) and Fiji (Schindelin et al. 2012). Keep the original vendor files: they hold the full acquisition metadata (objective, exposure, laser lines), and journals and repositories increasingly ask for them.
An easier way: measure the exported TIFF in LabCanvas
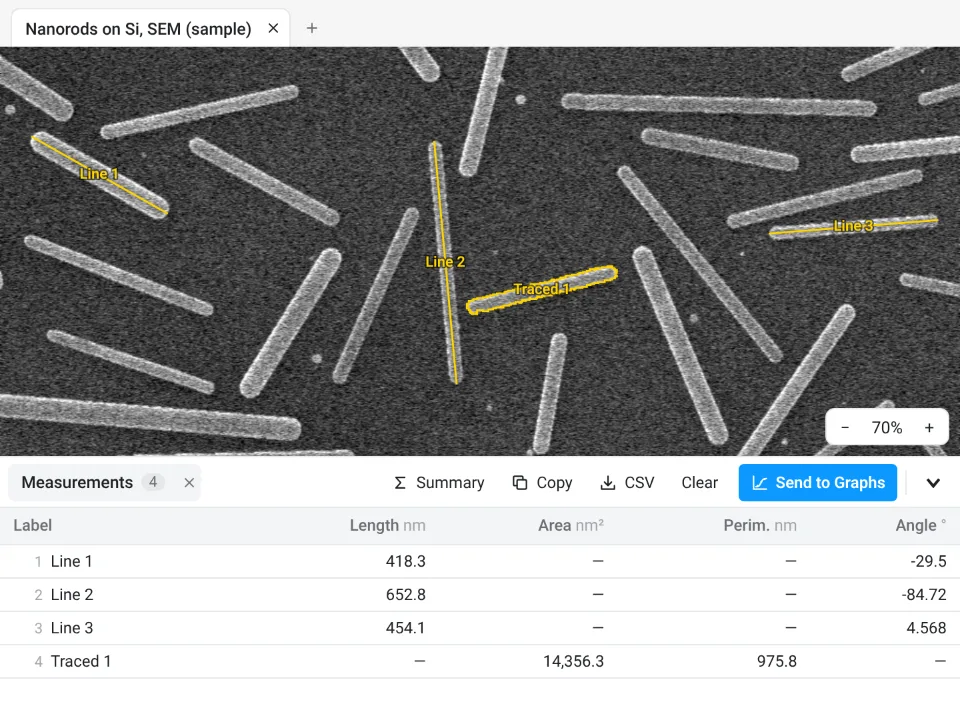
Once the file is a TIFF or OME-TIFF, you can measure it in LabCanvas Image Analysis, in the browser with nothing to install. It does not read vendor formats: .czi, .nd2, .lif, .lsm, .oib, .vsi and .ims need exporting first, as above.
- Export from Fiji (File › Save As › Tiff…, or the Bio-Formats Exporter for .ome.tif) or from the acquisition software as OME-TIFF.
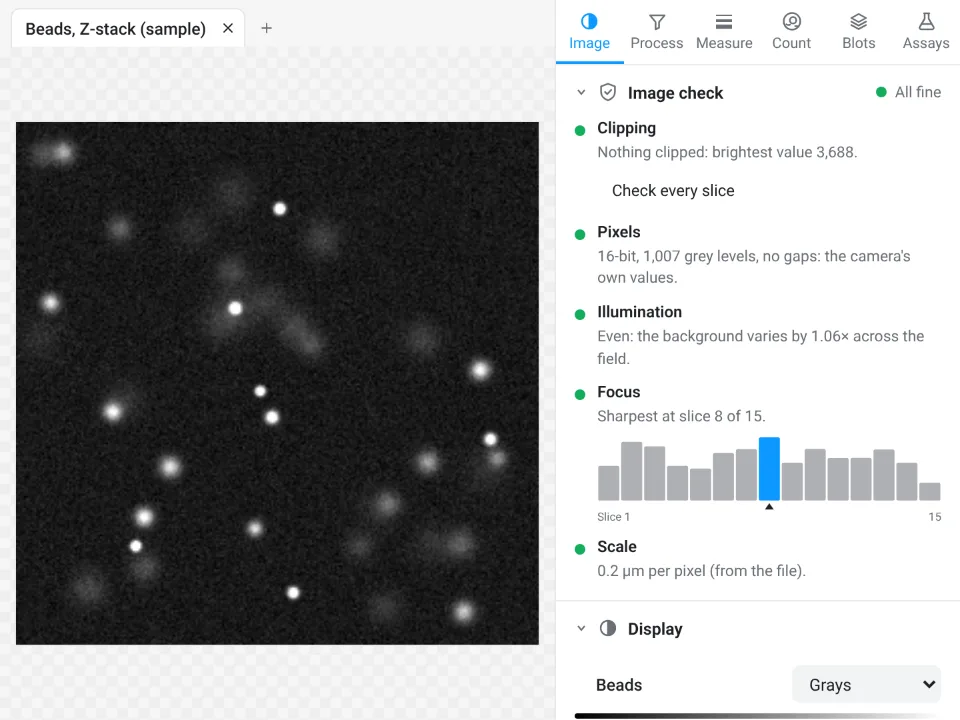
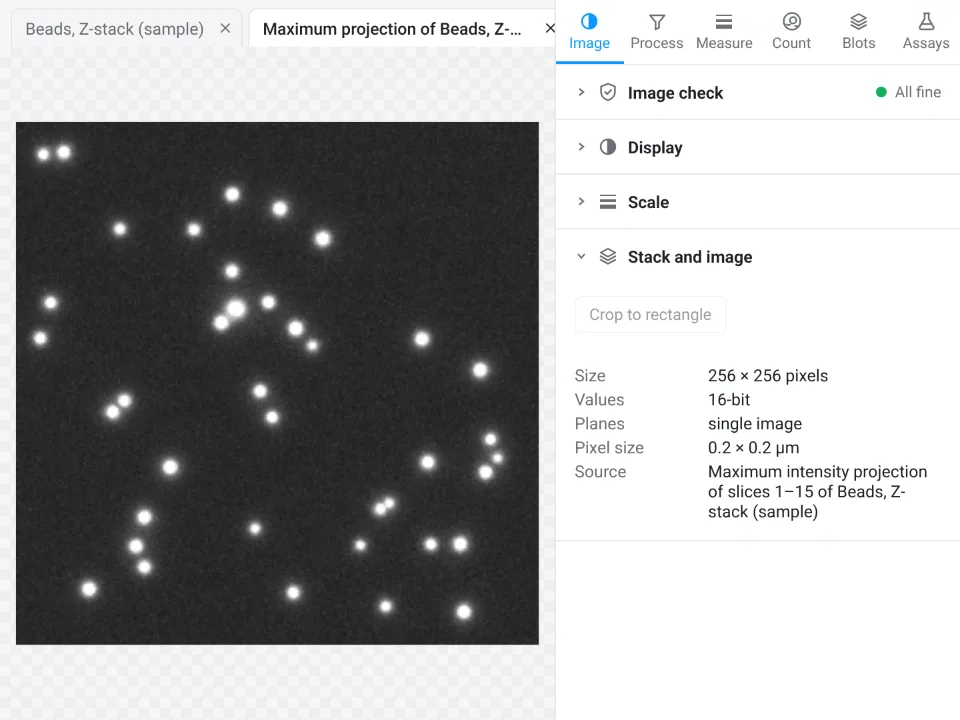
- Open Image Analysis and drop the file on the window. Channels, slices, frames, pixel size, slice spacing, frame interval and channel names come in from the file.
- Read the image check: it reports the bit depth, clipped pixels and the scale, so you know whether the calibration survived the export.
- Measure in the Measure tab; lengths and areas come out in µm or nm with no Set Scale step.
Why it is a good choice for the exported file:
- Nothing to install, on any computer or tablet, and TIFF, BigTIFF and OME-TIFF (8-, 16- and 32-bit, stacks and hyperstacks) open with their calibration, as do ImageJ ROI files (.roi, RoiSet.zip).
- An image check on opening that flags a lost scale, clipping and JPEG compression before you measure.
- ImageJ's names and measurements, with a methods sentence under every table and Send to Graphs for the statistics.
- Free with a LabCanvas account; downloading files is part of LabCanvas Pro.
For the vendor files themselves, Fiji with Bio-Formats remains the tool: it reads them directly, handles multi-series projects and pyramids, and opens files larger than memory as virtual stacks. Open Image Analysis, or read the complete guide for every format it reads.
ImageJ and Fiji are independent open-source projects; LabCanvas is not affiliated with them.
References
- Linkert M, Rueden CT, Allan C, Burel JM, Moore W, Patterson A, et al. (2010). Metadata matters: access to image data in the real world. Journal of Cell Biology 189, 777–782. doi:10.1083/jcb.201004104
- Schindelin J, Arganda-Carreras I, Frise E, et al. (2012). Fiji: an open-source platform for biological-image analysis. Nature Methods 9, 676–682. doi:10.1038/nmeth.2019
Frequently asked questions
How do I open a .czi file in ImageJ?
Use Fiji, which includes Bio-Formats: drag the .czi onto the Fiji window or use File › Import › Bio-Formats, choose View stack with: Hyperstack, and click OK. In plain ImageJ 1.x, first put bioformats_package.jar from the Bio-Formats download page in the plugins folder and restart; then use Plugins › Bio-Formats › Bio-Formats Importer.
How do I open .nd2 files in ImageJ?
The same way as .czi: Bio-Formats reads Nikon NIS-Elements .nd2 files. In Fiji, File › Import › Bio-Formats (or File › Open); multipoint or multi-well acquisitions may appear as several series, so tick Open all series or pick the ones you need in the series list.
Why does ImageJ say "Unsupported format or file not found"?
Plain ImageJ 1.x has no reader for that file type, usually because Bio-Formats is not installed, or the path is wrong. Install Bio-Formats (or use Fiji, which includes it), or export the image as TIFF or OME-TIFF from the acquisition software. If Bio-Formats is installed and the file still fails, update it: newer versions of a format often need a newer reader.
Is Bio-Formats included in ImageJ?
It is included in Fiji, and kept up to date by the Fiji Updater. Plain ImageJ 1.x does not include it; you add it by dropping bioformats_package.jar into the plugins folder.
Does Bio-Formats keep the scale (pixel size) of my image?
Yes, when the file stores it: the pixel size, slice spacing, frame interval and channel names are read from the metadata and set on the image. Check them in Image › Properties. Saving the result as TIFF or OME-TIFF keeps them; saving as JPEG or PNG does not.
Can LabCanvas open .czi or .nd2 files?
No. LabCanvas Image Analysis reads TIFF, BigTIFF and OME-TIFF (with their pixel size, channels, slices and frames), PNG, JPEG, WebP, GIF and BMP. Export the file as OME-TIFF from the acquisition software or from Fiji, and it opens with its scale.
Try it in LabCanvas
Every app is free to start in your browser. Create an account and begin.
Start Image Analysis free in your browserKeep reading

ImageJ vs LabCanvas Image Analysis: an honest comparison
ImageJ/Fiji or LabCanvas Image Analysis? Six everyday jobs done in both, six newer ones (macros, vendor files, 3D, StarDist, big images) and which to use.

How to use ImageJ: a beginner's tutorial for the 10 everyday jobs (2026)
How to use ImageJ and Fiji: get started, open an image, then 10 everyday jobs (scale, measure, threshold, count, background, blots) with exact menu paths.

How to set the scale and add a scale bar in ImageJ (with a calibration image to practise on)
Set the scale in ImageJ (Analyze › Set Scale) from a micrometer, scale bar or pixel size, add a scale bar, and practise on a free calibration image.